Introduction
I originally wrote my guide to configuring Traefik with Docker because there was very little documentation available online that I felt actually explained why you were doing anything it told you do, and consequently most people I encountered who had setup Traefik didn’t really know what they’d done or how it worked and couldn’t adapt their setup if they came across anything novel. Since then I’ve had a lot more time to develop my Traefik setup and better understand some of its nuances, and honestly there’s just some stuff I wrote that I’ve since realised just isn’t the optimal approach.
So with that in mind, consider this a straightforward replacement to the original post.
Configuration
We’re going to be using Docker Compose to spin up our Traefik container and keep any sensitive values in an .env file. If you’re not already using Compose to manage your containers, you’re going to want to start.
If you’ve not used an .env file with Compose before it’s very simple. Just create a file called .env in the same directory as your compose yml and in it put key/value pairs containing the information you want. Note that unlike with compose v1 (docker-compose), v2 (docker compose) requires you to escape certain characters such as $ like you would if you put them directly into the compose yml. See the official docs for examples. You can then reference these variables in your compose file like so:
MYSECRET=password123
    environment:
      DATABASE_PASSWORD=${MYSECRET}
With that out the way, here is our compose for Traefik.
services:
  traefik:
    image: traefik:v2.10
    container_name: traefik
    restart: always
    networks:
      - proxy
    ports:
      - 80:80
      - 443:443
    volumes:
      - /etc/localtime:/etc/localtime:ro
      - /var/run/docker.sock:/var/run/docker.sock:ro
      - ./data/traefik.yml:/traefik.yml:ro
      - ./data/configs:/configs:ro
      - ./data/acme.json:/acme.json:rw
      - ./data/logs:/logs:rw
    environment:
      - CF_DNS_API_TOKEN=${CFAPI}
    read_only: true
    security_opt:
      - no-new-privileges=true
    labels:
      - traefik.enable=true
      - traefik.http.routers.traefik-https.entrypoints=https
      - traefik.http.routers.traefik-https.rule=Host(`myproxy.example.com`)
      - traefik.http.middlewares.traefik-auth.basicauth.users=${TRAEFIKADMIN}
      - traefik.http.routers.traefik-https.middlewares=traefik-auth
      - traefik.http.routers.traefik-https.service=api@internal
      - traefik.http.routers.traefik-https.tls.certresolver=letsencrypt
      - traefik.http.routers.traefik-https.tls.domains[0].main=example.com
      - traefik.http.routers.traefik-https.tls.domains[0].sans=*.example.com

networks:
  proxy:
    external: {}
So let’s break down what’s going on here.
services:
  traefik:
    image: traefik:v2.10
    container_name: traefik
    restart: always
    networks:
      - proxy
    ports:
      - 80:80
      - 443:443
First we create our container, give it a name, set it to always restart with the docker service, tell it to use the network called proxy, and to expose ports 80 and 443 for external connections.
Note that I’m using the v2.10 tag here. Traefik doesn’t offer major version tags so you can’t pin to v2 and using latest can be risky and lead to broken services, especially with 3.0 just around the corner. If you choose to pin, just make sure you keep up with releases and update as required, and conversely if you’re going with latest keep up with releases and don’t update blindly.
    volumes:
      - /etc/localtime:/etc/localtime:ro
      - /var/run/docker.sock:/var/run/docker.sock:ro
      - ./data/traefik.yml:/traefik.yml:ro
      - ./data/configs:/configs:ro
      - ./data/acme.json:/acme.json:rw
      - ./data/logs:/logs:rw
Next, we configure the mapped volumes for the required files. Mapping /etc/localtime ensures that the container clock is in sync with the host. Now you could just map ./data:/ to keep things simple but I wanted to be able to specify Read-Only (RO) or Read-Write (RW) for each mount, hence the individual mappings. If you’re doing it this way you’ll need to pre-create the acme.json file and set its permissions correctly; something like:
touch acme.json
sudo chown root:root acme.json
sudo chmod 600 acme.json
| ⚠ | If you try and mount a file that doesn’t exist on the host into a container, Docker will instead create a folder on the host with the same name, and then likely throw an error and fail to create the container. If this happens, delete the folder, create the file, then recreate the container. |
|---|
Moving on.
    environment:
      - CF_DNS_API_TOKEN=${CFAPI}
Here we use an environment variable to provide the container with our Cloudflare API key, as we’re using a DNS challenge for our certificates. The list of supported providers and their corresponding environment variables is here. If you’re using an HTTP challenge then you can leave this bit out.
read_only: true
This option mounts the root filesystem of the container as read only and is a security measure that reduces the risk if somebody compromises the container because it prevents them from modifying anything that would survive a restart.
    security_opt:
      - no-new-privileges=true
Another security-focused setting, this prevents processes from acquiring more privileges than they were started with, for example via sudo or suexec.
networks:
  proxy:
    external: {}
We’re going to want all of our proxied containers to share a common docker network. To keep things simple I’ve already created one (docker network create proxy) that I can then connect everything to and is independent of any compose project. When you reference an existing network in a compose file you need to tell Docker that it doesn’t need to create it by defining it as external: {}.
We’ll come back to the labels once we’ve finished setting everything up.
Traefik Itself
The Traefik application can be configured using one of several different config options but as we’re working with v2 we’re going to use YAML over the legacy TOML format. Almost everything we’re about to configure could be done purely using Docker container labels and environment variables, but that’s going to start getting messy and hard to keep track of very quickly so we’ll keep the static stuff away from the containers. Let’s build ourselves a Traefik config file.
Create your traefik.yml with the rest of the files in the data directory. This file can be owned by anyone as long as root has at least Read permissions on it.
api:
 dashboard: true
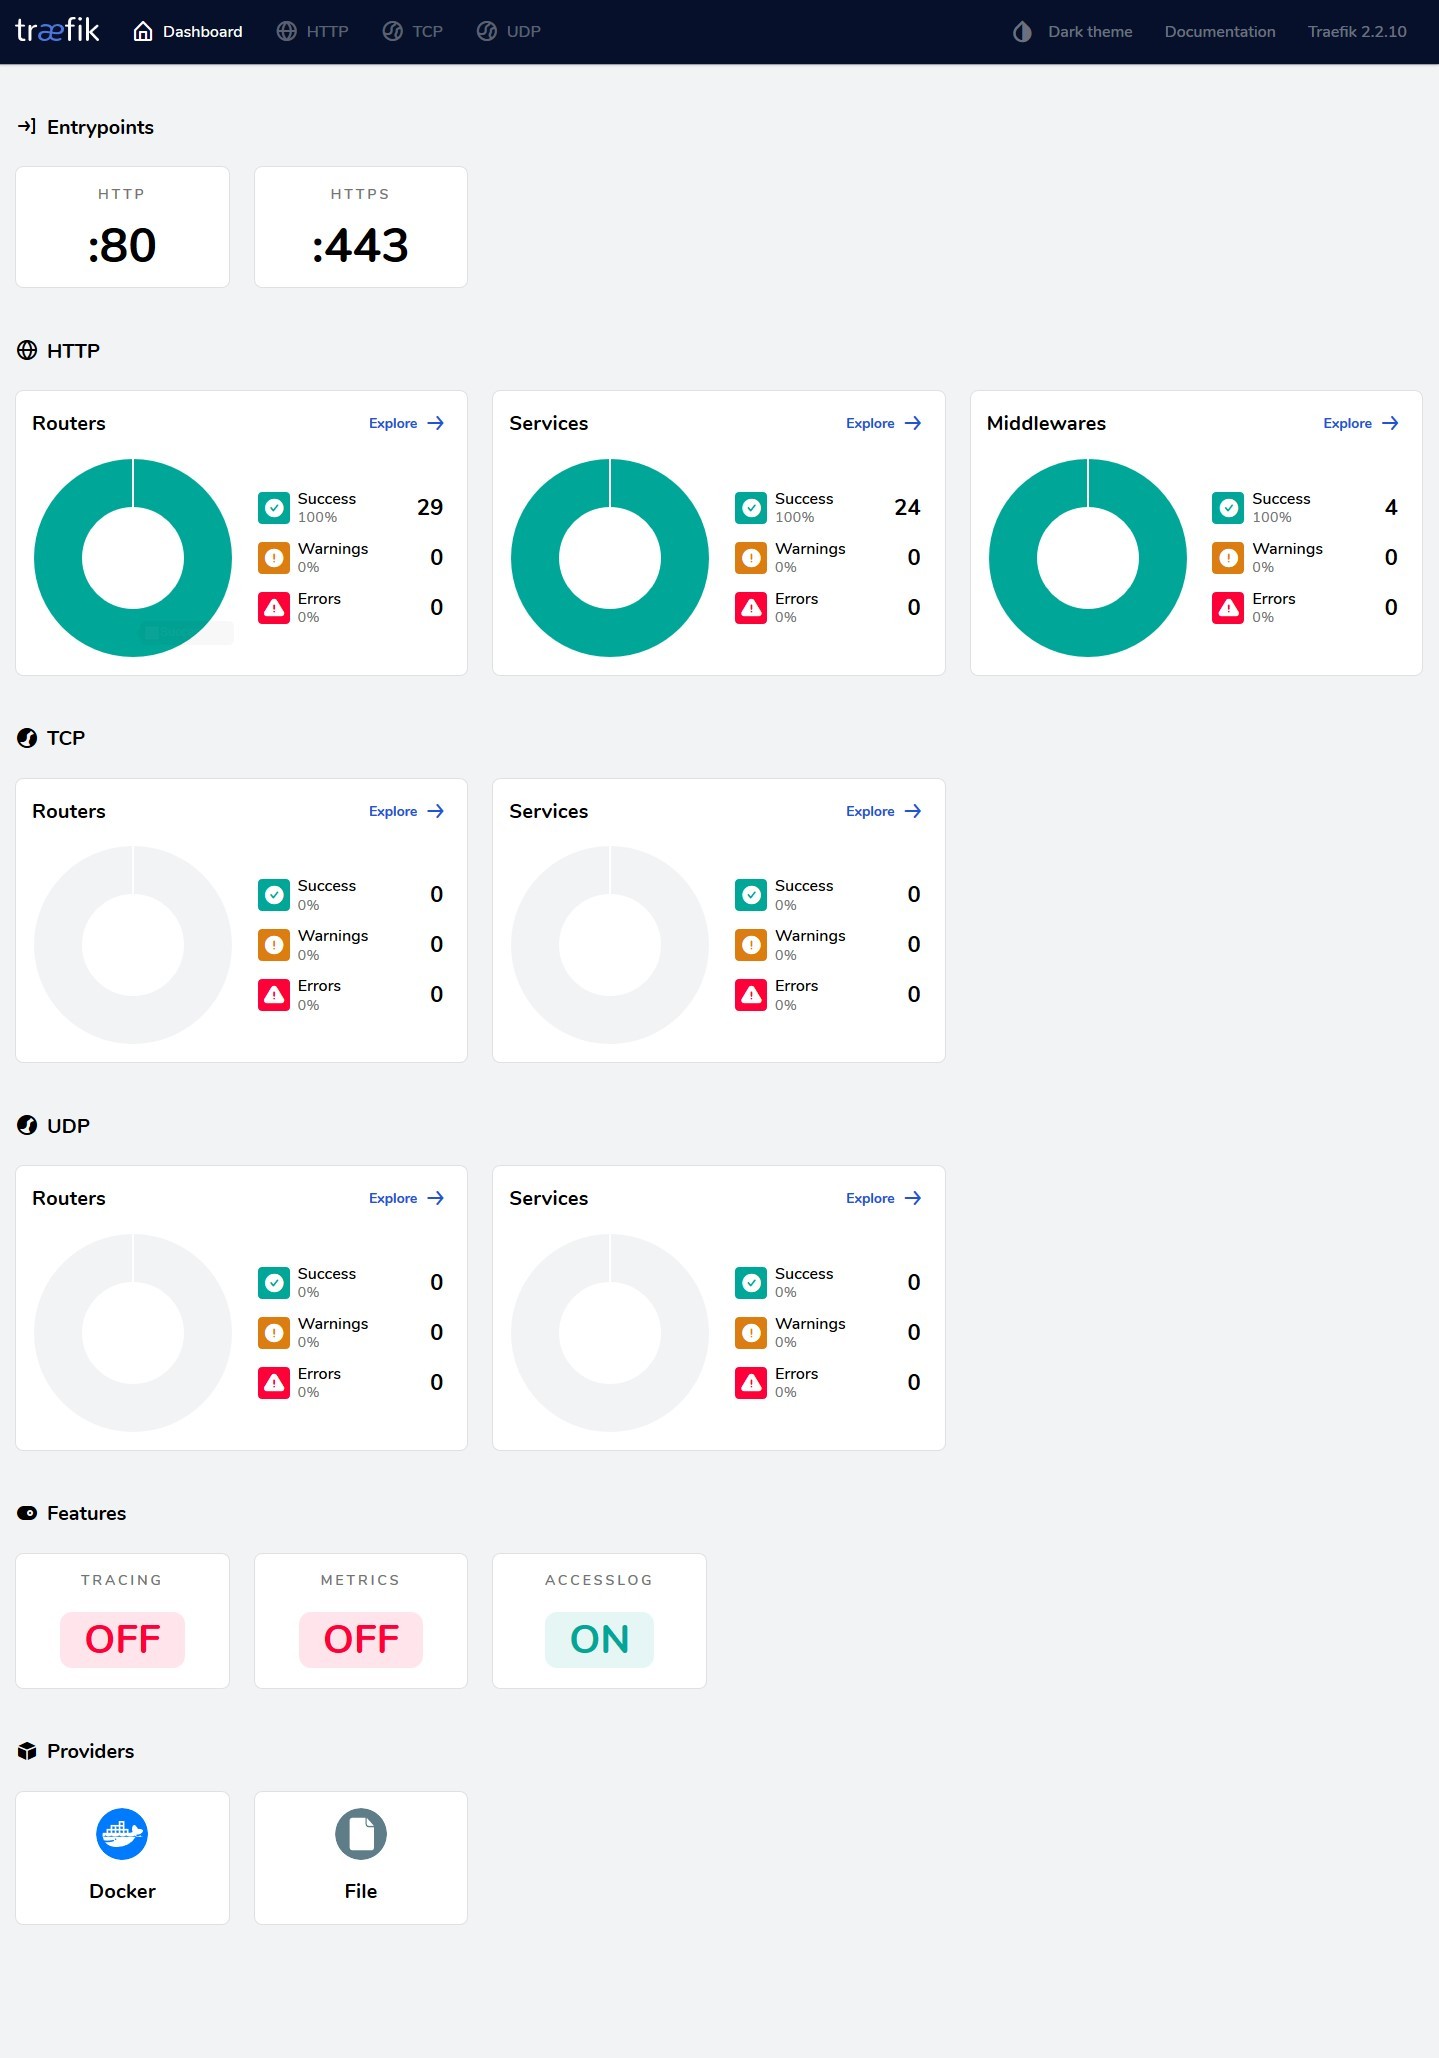
First up we enable the web Dashboard. This isn’t mandatory but it makes it much easier to see that everything is being configured as you’d expect.
entryPoints:
  http:
    address: ":80"
    forwardedHeaders:
      trustedIPs:
        - 127.0.0.1/32
        - 192.168.0.0/16
        - 172.16.0.0/12
        - 10.0.0.0/8
  https:
    address: ":443"
    http:
      tls: {}
    forwardedHeaders:
      trustedIPs:
        - 127.0.0.1/32
        - 192.168.0.0/16
        - 172.16.0.0/12
        - 10.0.0.0/8
Next we configure the entrypoints; these are the ports Traefik will listen on for incoming connections. The names (http and https) are arbitrary but you’ll want to give them descriptive names to make sure you know which port each entrypoint covers. If you have any upstream devices that might insert themselves into the traffic flow (proxies, load balancers, etc.) and want to preserve the original source addresses, you can add trustedIPs to accept the X-Forwarded-For headers from.
providers:
  docker:
    endpoint: "unix:///var/run/docker.sock"
    exposedByDefault: false
    defaultRule: "Host(`{{ index .Labels \"com.docker.compose.service\"}}.example.com`)"
    network: proxy
  file:
    directory: "/configs"
    watch: true
Traefik needs to know where your docker endpoint is to be able to read the container config. If you wish you can use exposeByDefault: true to make all containers available by default, but it’s probably not a good idea. We also tell it to use the proxy network by default to reach backend containers (though this can be overridden per container) and we also set up a defaultRule for container hostnames. This bit is optional but I find it useful; what it means is that if you don’t specify a hostname for a container, it will default to <servicename>.example.com. You could tweak this to generate whatever default naming scheme you prefer.
In addition we setup a file provider. This allows you to configure non-docker backends to proxy and setup additional configuration files for specific purposes. Setting the watch option to true means that Traefik will monitor the directory for changes and dynamically update its configuration, otherwise it requires a restart to do so.
certificatesResolvers:
  http:
    acme:
      email: cert@example.com
      storage: acme.json
      httpChallenge:
        entryPoint: http
  letsencrypt:
    acme:
      email: cert@example.com
      storage: acme.json
      dnsChallenge:
        provider: cloudflare
        resolvers:
          - "1.1.1.1:53"
          - "1.0.0.1:53"
  zerossl:
    acme:
      caServer: https://acme.zerossl.com/v2/DV90
      email: cert@example.com
      storage: acme.json
      dnsChallenge:
        provider: cloudflare
        resolvers:
          - "1.1.1.1:53"
          - "1.0.0.1:53"
      eab:
        kid: sdjkflUHKer79HLK
        hmacEncoded: sjflkJLHeh5JHfdGUIGEJ8ASdyouhj43
Traefik supports configuring multiple different ACME challenge types, which can then be invoked per container. Here we configure both the HTTP and DNS challenge types. The email is required for the certificate issuer to be able to send you notifications for things like certificate expiry, so that if the automatic renewal process fails for some reason you’ll know about it. storage points at the acme.json file we created earlier.
For the HTTP challenge, the entryPoint needs to be set to whatever you called your port 80 entrypoint at the top of the config. For the DNS challenge you’ll need to specify a provider, as per the list and you can optionally specify DNS resolvers to use for looking up that provider, which can help avoid propagation delays.
For some providers like ZeroSSL, you also need to provide EAB (External Account Binding) credentials. These consist of a KID and HMAC token, which identify you to the server, and can usually be generated from the provider’s website.
If you’re testing things and don’t want to risk falling foul of the LetsEncrypt rate limts you can use the caServer option for the challenge and set it to their Staging server URL, which is https://acme-staging-v02.api.letsencrypt.org/directory. Note that certificates issued from the staging server are not trusted by browsers. Also note that if you don’t provide a value for caServer it will default to the LetsEncrypt Production endpoint.
serversTransport:
    insecureSkipVerify: false
If some of your backends require SSL, such as Vaultwarden or the Unifi Controller for example, then you can tell Traefik to ignore the fact that their certificates are untrusted by setting insecureSkipVerify to true. This can be set per-container if preferred and I’ll cover how to do that a bit later as it’s not part of the static config.
accessLog:
  filePath: "/logs/access.log"
  fields:
    headers:
      names:
        User-Agent: keep

log:
  filePath: "/logs/traefik.log"
  level: INFO
Finally we set up logging. Access logging is optional but frequently useful, here we also tell it to make sure it keeps the User-Agent field and you can see a complete list of available fields to keep, drop, or redact here.
We can also set the application log level to DEBUG if we’re troubleshooting, or reduce it to WARNING or even ERROR if you feel it’s too noisy.
All logs write to stdout by default but can be changed to write to file by adding the filePath entry as above. Personally I write the access log to stdout and the application log to file, but YMMV.
And here’s the full config file
api:
  dashboard: true

entryPoints:
  http:
    address: ":80"
    forwardedHeaders:
      trustedIPs:
        - 127.0.0.1/32
        - 192.168.0.0/16
        - 172.16.0.0/12
  https:
    address: ":443"
    http:
      tls: {}
    forwardedHeaders:
      trustedIPs:
        - 127.0.0.1/32
        - 192.168.0.0/16
        - 172.16.0.0/12

providers:
  docker:
    endpoint: "unix:///var/run/docker.sock"
    exposedByDefault: false
    defaultRule: "Host(`{{ index .Labels \"com.docker.compose.service\"}}.example.com`)"
    network: proxy
  file:
    directory: "/configs"
    watch: true

certificatesResolvers:
  http:
    acme:
      email: cert@example.com
      storage: acme.json
      httpChallenge:
        entryPoint: http
  letsencrypt:
    acme:
      email: cert@example.com
      storage: acme.json
      dnsChallenge:
        provider: cloudflare
        resolvers:
          - "1.1.1.1:53"
          - "1.0.0.1:53"
  zerossl:
    acme:
      caServer: https://acme.zerossl.com/v2/DV90
      email: cert@example.com
      storage: acme.json
      dnsChallenge:
        provider: cloudflare
        resolvers:
          - "1.1.1.1:53"
          - "1.0.0.1:53"
      eab:
        kid: sdjkflUHKer79HLK
        hmacEncoded: sjflkJLHeh5JHfdGUIGEJ8ASdyouhj43

serversTransport:
    insecureSkipVerify: false

accessLog:
  filePath: "/logs/access.log"
  fields:
    headers:
      names:
        User-Agent: keep

log:
  filePath: "/logs/traefik.log"
  level: INFO
TLS Options
TLS options regarding minimum versions and supported ciphers have to be set in a dynamic configuration file in the /configs directory. I’d suggest something simple like tls.yml.
tls:
  options:
    default:
      minVersion: VersionTLS12
      cipherSuites:
       - "TLS_ECDHE_RSA_WITH_AES_128_GCM_SHA256"
       - "TLS_ECDHE_RSA_WITH_AES_256_GCM_SHA384"
       - "TLS_ECDHE_RSA_WITH_CHACHA20_POLY1305"
       - "TLS_ECDHE_ECDSA_WITH_AES_128_GCM_SHA256"
       - "TLS_ECDHE_ECDSA_WITH_AES_256_GCM_SHA384"
       - "TLS_ECDHE_ECDSA_WITH_CHACHA20_POLY1305"
If you know everything connecting is going to support TLS 1.3 then you can set the minVersion to VersionTLS13 instead and ditch the cipher suite list. There’s a good TLS best practices guide here if it’s something you’re not au fait with.
I mentioned earlier about setting certificate validation per-container. If you want to do that then you can do so by creating a named serversTransport in your TLS dynamic config file like so.
http:
  serversTransports:
    securetransport:
      insecureSkipVerify: false
    insecuretransport:
      insecureSkipVerify: true
And then referencing it in your container label
traefik.http.services.example-svc.loadBalancer.serversTransport=insescuretransport@file
Labels
OK, now back to our compose
    labels:
      - traefik.enable=true
      - traefik.http.routers.traefik-https.entrypoints=https
      - traefik.http.routers.traefik-https.rule=Host(`myproxy.example.com`)
      - traefik.http.middlewares.traefik-auth.basicauth.users=${TRAEFIKADMIN}
      - traefik.http.routers.traefik-https.middlewares=traefik-auth
      - traefik.http.routers.traefik-https.service=api@internal
      - traefik.http.routers.traefik-https.tls.certresolver=letsencrypt
      - traefik.http.routers.traefik-https.tls.domains[0].main=example.com
      - traefik.http.routers.traefik-https.tls.domains[0].sans=*.example.com
Traefik uses these labels on each container to decide how to handle them, which rules to create, which ports to forward connections to, etc. so we’ll go through them one at a time.
- traefik.enable=true
Nice and simple, this tells Traefik you want to expose this container and is necessary because we set exposedByDefault: false in the traefik config.
- traefik.http.routers.traefik-https.entrypoints=https
Traefik uses routers to direct traffic. This one we’ve called traefik-https and specified that it should listen only on the https entrypoint for incoming connections. All other labels related to this router need to have the same traefik-https name.
- traefik.http.routers.traefik-https.rule=Host(`myproxy.example.com`)
Remember the defaultRule setting in the traefik.yml? Well if you don’t configure that, or you want to deviate from it, you can use the rule label to set the hostname you want to match for connections to this container. Here we want to use myproxy.example.com instead of the defaultRule’s traefik.example.com.
- traefik.http.middlewares.traefik-auth.basicauth.users=${TRAEFIKADMIN}
This label creates a middleware called traefik-auth which applies basic auth to a connection. The ${TRAEFIKADMIN} value is pulled from the .env file and is generated using htpasswd like so
$ htpasswd -nbB user password
user:$2y$05$gQIjpyN8.FEvBdHCxxQ6.e3K5zlLOhGGSnOfqMm9MpMKEal96niQu
You can then add this string to your .env
TRAEFIKADMIN=user:$2y$05$gQIjpyN8.FEvBdHCxxQ6.e3K5zlLOhGGSnOfqMm9MpMKEal96niQu
You can also use a file if you have lots of users to add by instead using the usersfile label (and obviously mapping the file into your Traefik container).
- traefik.http.middlewares.traefik-auth.basicauth.usersfile: "/.htpasswd"
Note that defining middlewares doesn’t put them into action, that comes later. In theory you can define a middleware on any container and reference it from any other, but in practice it’s best to define any general-purpose ones on the Traefik container itself, or in a file, so that if you later down a container that’s defining a critical middlware you don’t break all your other containers.
- traefik.http.routers.traefik-https.middlewares=traefik-auth
Speaking of putting middlewares into action, here we list the middlewares we want to apply to the traefik-https router. In this case it’s just the one but you can comma-separate multiple. By applying traefik-auth any connections to this router will get prompted for the username and password we generated earlier.
- traefik.http.routers.traefik-https.service=api@internal
This label sets the service we’re connecting to, in this case it’s a special built-in one, api@internal which is the dashboard. In a bit I’ll show you an example of a “normal” service.
- traefik.http.routers.traefik-https.tls.certresolver=letsencrypt
And we want to get our certificate from LetsEncrypt using the DNS challenge options we configured in the traefik.yml.
You can also set a default certresolver in your traefik.yml static config file by replacing tls: {} in your https entrypoint with:
      tls:
        certResolver: letsencrypt
Or whichever resolver you prefer. As usual this can be overridden per-container.
Now, if we just left it at that, Traefik would go off and fetch a certificate for myproxy.example.com and be done with it, but what if we want to get a wildcard cert for use on multiple containers?
      - traefik.http.routers.traefik-https.tls.domains[0].main=example.com
      - traefik.http.routers.traefik-https.tls.domains[0].sans=*.example.com
Here we specify that instead of myproxy.example.com we want Traefik to request a cert for just example.com with a SAN list of *.example.com. Traefik is smart enough to reuse these certs for other containers that match so you only need these labels on the Traefik container itself. Note that you can’t request a wildcard cert if you’re using an HTTP challenge, it’s only supported via DNS challenge.
If you need wildcards for more than one domain you can just add extra labels and increment the domains array number, e.g.:
      - traefik.http.routers.traefik-https.tls.domains[0].main=example.com
      - traefik.http.routers.traefik-https.tls.domains[0].sans=*.example.com
      - traefik.http.routers.traefik-https.tls.domains[1].main=example.net
      - traefik.http.routers.traefik-https.tls.domains[1].sans=*.example.net
At this point you can spin up the Traefik container and you should be able to connect to the dashboard at https://myproxy.example.com using whichever password you set. Next we’ll take a look at some actual container configs - remember that Traefik will dynamically process container labels when the container is created, so you don’t need to touch Traefik itself, but you can watch it all unfold in realtime on the dashboard.
Service Examples
Basic HTTP Container
Let’s take a Bookstack container as an example of a basic HTTP container.
    labels:
     - traefik.enable=true
     - traefik.http.routers.bookstack-https.rule=Host(`bookstack.example.com`)
     - traefik.http.routers.bookstack-https.entrypoints=https
     - traefik.http.routers.bookstack-https.service=bookstack
     - traefik.http.services.bookstack.loadbalancer.server.port=80
You’ll see this is broadly the same as the Traefik container until we get to the router service definition.
- traefik.http.routers.bookstack-https.service=bookstack
Instead of api@internal we tell the router to use our custom service called bookstack.
- traefik.http.services.bookstack.loadbalancer.server.port=80
And then we define that service and make it a loadbalancer that will direct traffic to port 80. Note that this is the internal container port that the service is running on and not any custom port you may have mapped to the host.
Basic HTTPS Container
OK, so what about an HTTPS backend? Let’s look at a Unifi Controller container.
    labels:
     - traefik.enable=true
     - traefik.http.routers.unifi-https.rule=Host(`unifi.example.com`)
     - traefik.http.routers.unifi-https.entrypoints=https
     - traefik.http.routers.unifi-https.service=unifi
     - traefik.http.services.unifi.loadbalancer.server.scheme=https
     - traefik.http.services.unifi.loadbalancer.server.port=8443
Again broadly similar to the previous example with one exception.
     - traefik.http.services.unifi.loadbalancer.server.scheme=https
     - traefik.http.services.unifi.loadbalancer.server.port=8443
Here we tell Traefik that it needs to use HTTPS to connect to the container and that it should do so on port 8443.
Non-Docker Backend Service
And what about a non-docker backend? Well for that we need to create a config file in the /configs directory. These follow the same structure as the compose labels but in YAML format. Here we have config for a Monit instance running on another machine.
http:
  routers:
    monit-https:
      entryPoints:
        - "https"
      rule: Host(`monit.example.com`)
      service: "monit"

  services:
    monit:
      loadBalancer:
        servers:
          - url: "http://monit.example.local:2812/"
If it was an HTTPS backend we would just need to change the url to an HTTPS one. The URL doesn’t have to be an FQDN (unless the backend is expecting one), it can be a hostname or IP address, as long as it points to the correct place.
Non-Wildcard Service
In the Traefik Compose file we requested a wildcard certificate for *.example.com. If you need to run a service not covered by that wildcard, you can simply add the certresolver label and Traefik will request a certificate for it at runtime based on the host rule.
    labels:
     - traefik.enable=true
     - traefik.http.routers.bookstack-org-https.rule=Host(`bookstack.example.org`)
     - traefik.http.routers.bookstack-org-https.entrypoints=https
     - traefik.http.routers.bookstack-org-https.tls.certresolver=letsencrypt
     - traefik.http.routers.bookstack-org-https.service=bookstack-org
     - traefik.http.services.bookstack-org.loadbalancer.server.port=80
HTTP->HTTPS Redirect
If you want to be able to hit the HTTP address for your service and get automatically redirected to HTTPS then you need the help of some middlware. Let’s look at our Bookstack container again.
    labels:
     - traefik.enable=true
     - traefik.http.routers.bookstack-https.rule=Host(`bookstack.example.com`)
     - traefik.http.routers.bookstack-https.entrypoints=https
     - traefik.http.routers.bookstack-https.service=bookstack
     - traefik.http.services.bookstack.loadbalancer.server.port=80
And change it to.
    labels:
     - traefik.enable=true
     - traefik.http.routers.bookstack-https.rule=Host(`bookstack.example.com`)
     - traefik.http.routers.bookstack-https.entrypoints=http,https
     - traefik.http.routers.bookstack-https.service=bookstack
     - traefik.http.middlewares.https-redirect.redirectscheme.scheme=https
     - traefik.http.routers.bookstack-https.middlewares=https-redirect
     - traefik.http.services.bookstack.loadbalancer.server.port=80
First we create the middleware to redirect traffic to https. Typically this middleware would be configured as a label on the Traefik container, or in a dynamic config file, to make it easier to reuse, but there’s nothing stopping you from creating multiple redirectscheme middlewares across multiple containers if you prefer.
With our middleware in place we add the http entrypoint to the entrypoints list, then we configure our router to use the https-redirect middleware.
A quick warning note on entrypoints and certresolvers
You cannot use combined http/https entrypoints and a certresolver label at the same time, i.e.
     - traefik.http.routers.bookstack-https.entrypoints=http,https
     - traefik.http.routers.bookstack-https.tls.certresolver=letsencrypt
Because the certresolver label will force TLS on the whole router, which will break the http entrypoint. You instead need to do
     - traefik.http.routers.bookstack-http.entrypoints=http
     - traefik.http.routers.bookstack-https.entrypoints=https
     - traefik.http.routers.bookstack-https.tls.certresolver=letsencrypt
You can then point both routers at the same service. If you’re not setting a certresolver label because you’re using wildcard certs or using a default certresolver from your static config then you won’t run into this issue.
IP-Based Whitelisting
Now, what if we want to limit access to some services to internal users, but allow external connections to others? For that we need an ipwhitelist middleware. This can be done via a label or a file, but I find a file easier to manage if you have lots of IP ranges you want to whitelist, and it also means you don’t have to recreate the Traefik container to update the subnets. Again we create a .yml file in the /configs directory and put our middleware settings into it.
http:
  middlewares:
    internal-ipwhitelist:
      ipWhiteList:
        sourceRange:
          - "127.0.0.1/32"
          - "192.168.0.0/24"
          - "172.16.0.0/12"
          - "10.0.0.0/8"
internal-ipwhitelist is the name you want to give to the middleware and then sourceRange is your list of subnets. We could now apply this list to our Traefik container with a label.
- traefik.http.routers.traefik-https.middlewares=traefik-auth,internal-ipwhitelist@file
Now any connection to myproxy.example.com from outside of the allowed ranges will be met with a 403 forbidden error. You can have multiple different whitelists if you need to, just give them different names.
Shortcuts
Container Labels
Traefik offers you a number of shortcuts that can simplify your container labels at the cost of explicit control.
For example, instead of
- traefik.http.routers.bookstack-https.entrypoints=http,https
You can just omit the entire entrypoints label and Traefik will listen on all configured entrypoints. Fine if you’ve only got the two, can be an issue if you have more.
Similarly if instead of
- traefik.http.services.bookstack.loadbalancer.server.port=80
You omit the entire port label, Traefik will use the first port listed in the EXPOSE statement of the image. This can be tricky for obvious reasons as you reliant on the image provider setting it correctly at build time.
And finally, if instead of
- traefik.http.routers.bookstack-https.service=bookstack
You omit the entire service label, Traefik will look for a service that matches the name of the router.
So, in theory, instead of
    labels:
     - traefik.enable=true
     - traefik.http.routers.bookstack-https.rule=Host(`bookstack.example.com`)
     - traefik.http.routers.bookstack-https.entrypoints=https
     - traefik.http.routers.bookstack-https.service=bookstack
     - traefik.http.services.bookstack.loadbalancer.server.port=80
You could instead use
    labels:
     - traefik.enable=true
To the same effect - and in fact by enabling exposedByDefault you could remove all labels and have a zero-touch config, as long as you stick to a fairly simple setup and trust your image maintainers to be consistent. I wouldn’t recommend going that far personally, but it’s an option.
Middleware
Like a lot of settings, middleware can be configured at an entrypoint level in your static config to apply to all containers. For example, if you wanted to set the X-Clacks-Overhead header for every service you publish, you could define it:
http:
    middleware-pratchett:
      headers:
        customresponseheaders:
          X-Clacks-Overhead: GNU Terry Pratchett
And the add it to your entrypoints
entryPoints:
  http:
    address: ":80"
    http:
      middlewares:
        - middleware-pratchett@file
Note that because middlewares are additive, it’s non-trivial to remove a default middleware on a per-container basis.
A Quick Note On Namespaces
Traefik has multiple different namespaces for configuration objects which you may have picked up on looking through this piece. The ones we care about for our purposes are @internal, @docker, and @file. If you’re referencing something within the same namespace, say a Docker label-defined middleware from a Docker label-defined router, you don’t need to specify the namespace. If, however, you’re using things cross-namespace, such as with the IP Whitelist example above, you need to specify where you’re getting it from.
This is why we use traefik-auth to refer to the basicauth middleware, because it’s defined in a Docker label and called from a Docker label, but internal-ipwhitelist@file because it’s defined in a file and called from a Docker label. Equally if you were doing things the other way around, you’d reference internal-ipwhitelist@docker in your .yml file. You can of course always specify the namespace, even when it’s not technically necessary, if it makes it easier for you to keep track.
Security Considerations
Files
If your container doesn’t need to be able to write to files on the host, mount them as RO. The only things that Traefik needs to write to are logs, if you’re writing any of them to file, and the acme.json file which stores the LetsEncrypt certificates.
Container
As I mentioned at the top, if there’s no need for the container to write to its own root filesystem, spin it up with read_only: true. This stops anything from modifying the container filesystem while it’s running and limits the risk of any kind of persistence for malicious actors.
Docker Socket
Traefik’s Docker integration necessitates access to the Docker socket and this is a potential attack vector. Although we mount the socket as RO that doesn’t actually mean that the container’s access to the Docker API is read-only, it just stops it from modifying the socket itself. That means that in practice the Traefik container has full access to read and write to your Docker environment.
One mitigation option is to use a Socket Proxy such as this one which lets you limit what Traefik can access. The only API component required for Traefik to operate is read-only access to CONTAINERS so you can otherwise lock things right down. Here’s an example compose for the socket proxy.
services:
  traefik-dockerproxy:
    image: lscr.io/linuxserver/socket-proxy:latest
    container_name: traefik-dockerproxy
    environment:
      - CONTAINERS=1
      - POST=0
    volumes:
      - /var/run/docker.sock:/var/run/docker.sock:ro
    tmpfs:
      - /run
    networks:
      - proxy
    restart: always
    security_opt:
      - no-new-privileges=true
    read_only: true

networks:
    proxy:
        external: true
You can then set the Docker endpoint in your traefik.yml to use the socket proxy and remove the Docker socket mount from your compose.
providers:
  docker:
    endpoint: "tcp://dockerproxy-traefik:2375"
HTTP/3
Traefik v2 has experimental support for HTTP/3. If you want to make use of it, you can enable it in your traefik.yml by adding the top level setting
experimental:
  http3: true
And then under your https entrypoint
entryPoints:
  https:
    http3:
      advertisedPort: 443
Note that HTTP/3 is UDP so make sure the necessary ports are open and forwarded on your LAN edge.
Conclusions
With any luck you’re now less confused about Traefik than when you started reading this.
I know there’s a lot to absorb, and the initial investment of effort to get everything off the ground can feel substantial, but once you’ve got the hang of things Traefik makes ongoing management of your services trivial.